How to save a PDF for print: PDF/X, fonts, bleed and crop marks
To save a PDF for print, export it to the PDF/X-4 standard (or PDF/X-1a if your printer asks for it) in CMYK, with fonts embedded or converted to outlines. Add 3 mm of bleed on every side and keep important content at least 3–5 mm inside the trim line. Prepare images at 300 DPI at 1:1 scale (large format: 100–150 DPI), and only add crop marks if the printer asks for them, with a 3 mm offset.
A good design can be ruined by a single bad export: a missing font, a white edge after trimming or a blurry photo. This guide takes you step by step through the settings that decide whether your PDF goes through the print house without corrections. You'll learn which PDF/X standard to choose, what to do with fonts, how to set up bleed and crop marks, how to compress images and how to check the finished file yourself.
Which export settings should you choose in your design software?
The golden rule: don't use a plain 'Save as PDF' or print to PDF through a virtual printer. Use the export option with a PDF/X preset, because it automatically enforces font embedding, correct page boxes (TrimBox and BleedBox) and an output profile. Then simply adjust the bleed, marks and compression to match your printer's guidelines.
If your printer provides its own settings file (e.g. a .joboptions file for Adobe software), install it and use it instead of the generic presets. It's the simplest way to make sure your file goes straight into production.
| Software | Where to find the export | What to choose |
|---|---|---|
| Adobe InDesign | File > Export > Adobe PDF (Print) | The [PDF/X-4:2008] or [PDF/X-1a:2001] preset |
| Adobe Illustrator | File > Save As > Adobe PDF | The PDF/X-4 or PDF/X-1a preset |
| Affinity Publisher / Designer | File > Export > PDF | The PDF/X-4 or PDF/X-1a preset |
| CorelDRAW | File > Publish to PDF | The PDF/X-4 or PDF/X-1a preset |
| Canva | Share > Download > PDF Print | Tick crop marks and bleed, and the CMYK profile if available |
PDF/X-1a or PDF/X-4: which standard should you choose?
Both standards require embedded fonts and defined print conditions, but they differ in how they handle transparency and colour. PDF/X-1a is older and stricter: it allows only CMYK and spot colours, and flattens all transparency (shadows, gradients with opacity, effects) on export. PDF/X-4 keeps live transparency and layers, and leaves RGB objects with an ICC profile to be converted by the printer's RIP.
In practice, PDF/X-4 is now the default choice for modern digital, litho and large-format printers. Choose PDF/X-1a when the printer explicitly asks for it or runs older RIP software. Flattening in X-1a can leave thin white lines visible in a PDF viewer or turn parts of the text into raster graphics, so always inspect the file zoomed in after exporting.
| Feature | PDF/X-1a | PDF/X-4 |
|---|---|---|
| Colour space | CMYK and spot colours only | CMYK, spot, RGB and Lab with an ICC profile |
| Transparency | Flattened on export | Preserved, handled by the RIP |
| Layers | Not allowed | Allowed |
| Fonts | Must be embedded | Must be embedded |
| When to choose it | When the printer requires it or uses an old RIP | By default, at most modern printers |
Fonts: embed or convert to outlines?
The PDF/X standard requires fonts to be embedded, so with a correct export converting to outlines usually isn't necessary. In InDesign, set font subsetting to 100% (the 'Subset fonts when percent of characters used is less than' option) so that the full font goes into the file. If the software warns that a font can't be embedded because of its licence, convert the text to outlines.
Outlines have their drawbacks: the text can no longer be edited, the file gets heavier and small text loses its hinting. So always keep a working version with editable text. Converting to outlines is standard for files going to cutting plotters, engraving and for logos handed over to other suppliers.
- Smallest legible text in print: around 6 pt; for reversed-out text (light on a dark background) 7–8 pt and a sans-serif typeface are better.
- Minimum line weight: 0.25 pt (approx. 0.1 mm); thinner lines may disappear in print.
- Set small black text as 100% K with no added CMY, to avoid blurring when colour registration is slightly off.
Bleed, safe area and crop marks
Bleed is a strip of artwork extending beyond the trimmed size, which the printer cuts off. It protects against white edges, because guillotines and plotters have a cutting tolerance of anywhere from a fraction of a millimetre up to 1 mm. For small-format work the standard is 3 mm of bleed on each side, so an A5 flyer (148×210 mm) measures 154×216 mm in the file. Extend backgrounds and photos to the edge of the bleed, and keep text, logos and phone numbers within the safe area inside the trimmed size.
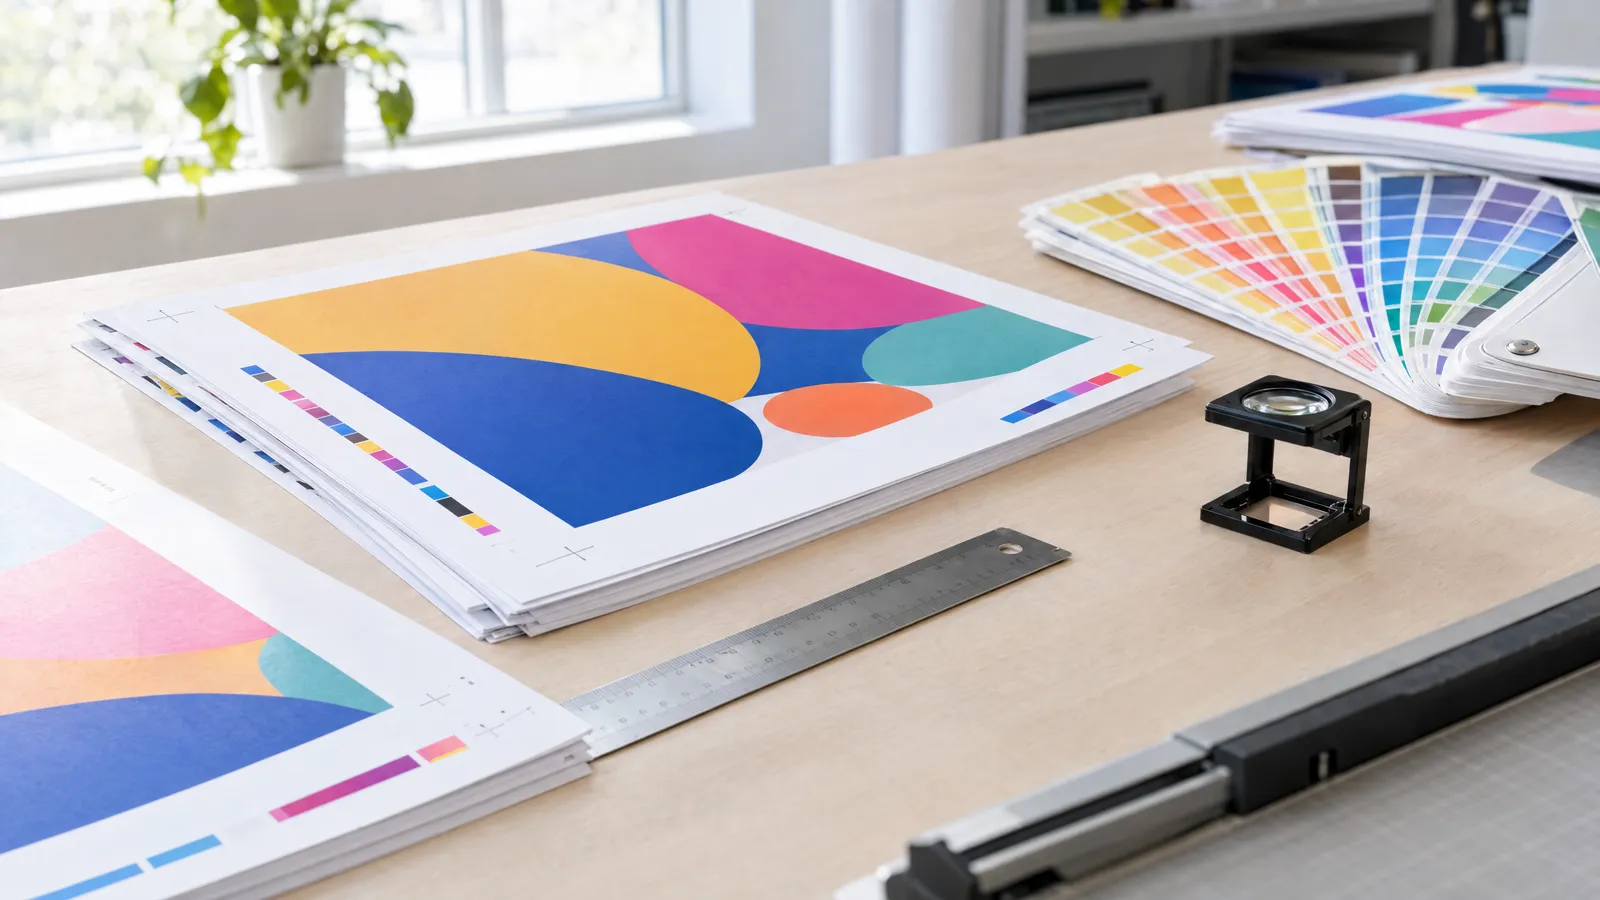
Only add crop marks when the printer asks for them; many digital and large-format printers want the file without marks, with bleed only. If you do add them, set the mark offset equal to the bleed (3 mm) so they don't overlap the artwork. In InDesign, on the 'Marks and Bleeds' tab, tick 'Use Document Bleed Settings' and 'Crop Marks'.
| Product | Typical bleed | Safe area |
|---|---|---|
| Business card, flyer, poster, menu | 3 mm | 3–5 mm |
| Label, sticker (plotter cut) | 2–3 mm | 2–3 mm from the cut line |
| Roll-up banner | depends on the system, often several cm at the bottom for the cassette | several cm from the edge, as per the guidelines |
| Banner with eyelets or pole pockets | depends on the finish, agree with the printer | at least 3–5 cm from the edge |
Image resolution and compression
For print viewed close up (flyers, business cards, posters), photos should be 300 DPI at 1:1 scale. For large format viewed from a few metres away, 100–150 DPI is enough, and for banners seen from a distance even less. Large-format files are often prepared at 1:10 scale, in which case the resolution in the file needs to be ten times higher, i.e. 1000–1500 DPI.
Compression on export should only strip out surplus data, not quality. Artificially upscaling a small photo from the internet won't add detail; always check the source image.
| Setting | Recommended value |
|---|---|
| Colour and greyscale images | Bicubic downsampling to 300 ppi for images above 450 ppi |
| Colour and greyscale compression | JPEG at maximum quality, or ZIP |
| Monochrome (line art) images | 1200 ppi, CCITT Group 4 compression |
| Large format at 1:1 | 100–150 DPI |
| Large format at 1:10 scale | 1000–1500 DPI in the file |
Colour in a print PDF: CMYK, black and profiles
Prepare your print file in CMYK with a profile that matches the paper and print process, e.g. ISO Coated v2 (FOGRA39) or PSO Coated v3 (FOGRA51) for coated stock, and uncoated profiles (e.g. FOGRA29 or FOGRA52) for uncoated paper. Which profile to choose depends on the printer, so check their guidelines. On-screen RGB colours often lose saturation after conversion, especially vivid greens, blues and pinks.
Set large solid black areas as rich black, e.g. C60 M40 Y40 K100, so they don't look grey. Keep an eye on total ink coverage: usually up to 300% on coated stock and around 260–280% on uncoated; your printer will give you the exact limit. Check overprint settings too: a white object set to overprint will simply vanish in print.
How to check the finished PDF before sending it
The most reliable way is in Adobe Acrobat Pro: the Preflight tool checks PDF/X compliance, and Output Preview shows separations, overprint and ink coverage. In Document Properties, on the Fonts tab, every font should be marked 'Embedded' or 'Embedded Subset'. Free PDF viewers are also fine for a basic check of dimensions and appearance.
Ready-made files from plakaty.shop (wielkareklama.eu studio) come at the trimmed size with 3 mm bleed and a safe area, with large formats prepared at 1:10 scale, but even then do read every line of text, phone number and address yourself. Nobody will catch a typo better than your own proofreading.
- Check the page size: trimmed size plus bleed (e.g. 154×216 mm for A5).
- Zoom in to 300–400% and inspect photos, fine lines and edges.
- Make sure the background reaches the edge of the bleed and the text stays out of the margin.
- Check that no RGB objects remain in the file if the printer requires PDF/X-1a.
- Read all the text once more on a test print or at high magnification.
Checklist
- Exported as PDF/X-4 or PDF/X-1a, as required by the printer
- Colours in CMYK with the correct profile, black text as 100% K
- All fonts embedded or converted to outlines
- 3 mm bleed on every side (large format as per the guidelines)
- Text and logo at least 3–5 mm inside the trim line
- Photos at 300 DPI at 1:1 scale (large format 100–150 DPI)
- Crop marks only at the printer's request, with a 3 mm offset
- Overprint on white objects and ink coverage limit checked
- All text, phone numbers and addresses proofread
FAQs
What kind of PDF should I send to the printer?
The safest choice is PDF/X-4 in CMYK, with embedded fonts and 3 mm bleed. If the printer specifies different requirements, e.g. PDF/X-1a or a particular colour profile, follow their guidelines. One page in the PDF should correspond to one page of the product.
Do fonts in a PDF need to be converted to outlines?
Not always. The PDF/X standard requires embedded fonts, and a correctly embedded font prints exactly the same as outlines. Converting to outlines is needed when the font licence prevents embedding, or when the printer, cutting plotter or engraver requires it.
How many mm of bleed should I add for print?
For business cards, flyers, posters and menus the standard is 3 mm on each side. Plotter-cut labels and stickers often need 2–3 mm. For roll-up banners and banners, bleed depends on the system and finish, so check the specific printer's guidelines.
Should I add crop marks to a print PDF?
Only if the printer asks for them. Many digital and large-format printers prefer a file without marks, with bleed only, because they impose the work on the sheet their own way anyway. If you do add them, set the mark offset to 3 mm, the same as the bleed.
How can I check whether a PDF is ready for print?
In Adobe Acrobat Pro, run Preflight for the chosen PDF/X standard and look at Output Preview. In Document Properties, check that all fonts are embedded. Then verify the page size including bleed and inspect the file at 300–400% zoom.
What resolution should a large-format print PDF have?
For roll-up banners and banners viewed from a few metres, 100–150 DPI at 1:1 scale is enough. If you prepare the file at 1:10 scale, the resolution in the file needs to be 1000–1500 DPI. The greater the viewing distance, the lower the acceptable resolution.