Print Bleed: How Many mm and How to Set It Up
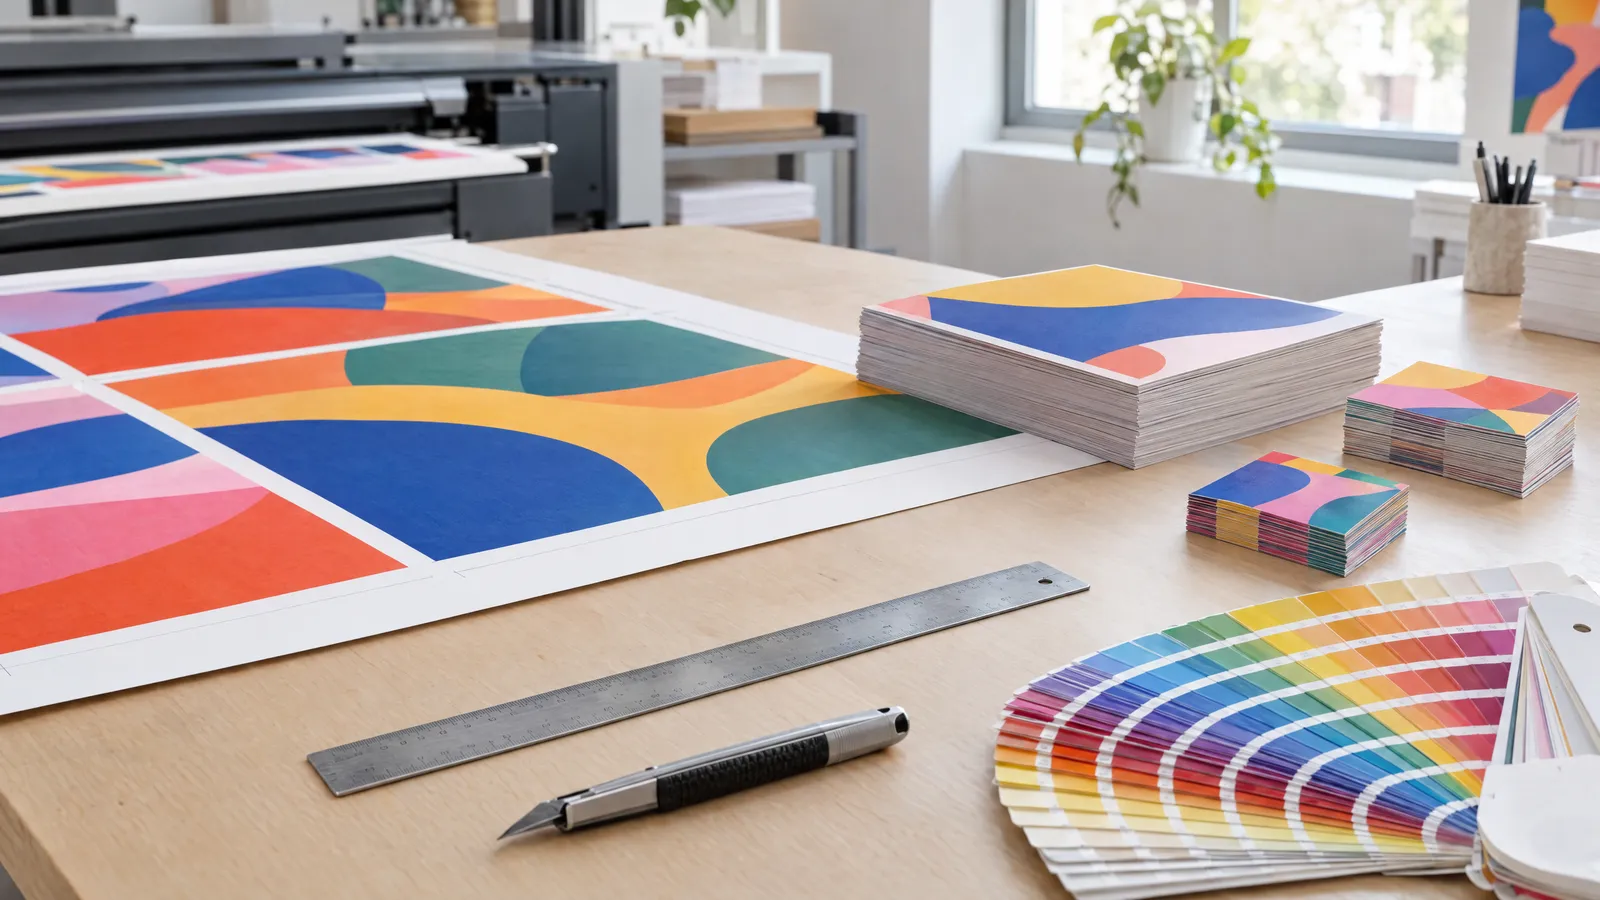
The standard print bleed is 3 mm on every side for flyers, business cards, posters and cards. An A5 flyer (148×210 mm) therefore needs a 154×216 mm file at 300 DPI, and important text should sit at least 3–5 mm inside the trim line. For banners and roll-ups, bleed depends on the finishing and on the printer's requirements. It is usually between 1 cm and several centimetres, and a roll-up also needs extra length at the bottom that disappears into the cassette.
Print bleed is one of the most common reasons a printer sends artwork back for correction. Just a few millimetres of background beyond the edge of your design make a flyer or business card look clean and professional once it has been trimmed. Below you'll find exact sizes for popular products, step-by-step instructions for Canva, Photoshop, Illustrator and InDesign, and an explanation of what happens when bleed is missing.
What is print bleed and why do you need it?
Bleed is the strip of artwork that extends beyond the finished size and is trimmed off after printing. Jobs are printed on a larger sheet and then cut on a guillotine or a cutting plotter. The cut never lands in exactly the same place every time. The blade can shift by a fraction of a millimetre, and on long runs by as much as 1 mm.
If the background stops exactly at the edge of the finished size, any shift like this will reveal a white sliver of paper. With bleed, the colour or photo still runs right to the edge, even with a small cutting tolerance. You only need bleed when the artwork is meant to reach the edge. A design with a white border all round and nothing near the edge doesn't technically need it, but printers usually ask for a file at full bleed size anyway.
- Trim size: the size of the finished product after cutting, e.g. A5 148×210 mm.
- Bleed size: the trim size plus bleed on every side, e.g. 154×216 mm.
- Trim line: the edge of the trim size, where the machine cuts.
- Safe area: the zone inside the trim size (usually 3–5 mm in from the trim line) where you shouldn't place text, logos or phone numbers.
How many mm of bleed for flyers, business cards and posters?
For digital and litho printing of small formats, the standard is 3 mm of bleed on every side. In practice, you add 6 mm to each dimension. Some printers accept 2 mm for business cards, while others ask for 5 mm on creased and folded products, so always check the specification of the printer you're using.
The resolution for these formats is 300 DPI at 1:1 scale. A2 and A1 posters are viewed from further away and often print perfectly well at 150–200 DPI, but 300 DPI is the safe choice.
| Product | Trim size | Bleed | File with bleed | Safe area |
|---|---|---|---|---|
| Business card (UK standard) | 85×55 mm | 3 mm | 91×61 mm | min. 3–4 mm |
| Business card (European) | 90×50 mm | 3 mm | 96×56 mm | min. 3–4 mm |
| A6 flyer | 105×148 mm | 3 mm | 111×154 mm | min. 4 mm |
| DL flyer | 99×210 mm | 3 mm | 105×216 mm | min. 4 mm |
| A5 flyer | 148×210 mm | 3 mm | 154×216 mm | min. 5 mm |
| A4 flyer / poster | 210×297 mm | 3 mm | 216×303 mm | min. 5 mm |
| A3 poster | 297×420 mm | 3 mm | 303×426 mm | min. 5–10 mm |
| A2 poster | 420×594 mm | 3 mm | 426×600 mm | min. 10 mm |
| A1 poster | 594×841 mm | 3 mm | 600×847 mm | min. 10 mm |
Bleed for banners and roll-ups: what does it depend on?
Large-format printing has no single figure for bleed. It depends on the finishing: welded hems, eyelets, a pole pocket or a roll-up cassette. Printers most commonly ask for between 1 cm and a few centimetres extra, and more for pole pockets, depending on the diameter of the pole. Always check the printer's specification before you export.
Large-format files are usually set up at 1:10 scale. A 300×100 cm banner becomes a 300×100 mm file, and 2 cm of bleed becomes 2 mm. Bear in mind that the resolution at 1:10 scale has to be ten times higher. If you want 100–150 DPI at full size, the file needs 1000–1500 DPI. This is exactly how roll-ups and banners designed at plakaty.shop are supplied: as a 1:10 PDF. Small formats come as a PDF at trim size with 3 mm bleed and a safe area.
| Product | Typical finishing | Bleed / extra | What to watch out for |
|---|---|---|---|
| Banner with eyelets | welded hems, eyelets roughly every 50 cm | usually 1–3 cm, as specified by the printer | eyelets sit a few cm in from the edge, so keep text at least 5 cm from the edge |
| Banner with pole pockets | hem welded into a pocket | depends on the pole diameter; agree it with the printer | the pocket strip won't be visible |
| Roll-up 85×200 / 100×200 cm | cassette at the bottom, rail at the top | extra at the bottom (from a few to over ten cm) and a few cm at the top, depending on the model | don't put important content in the bottom 20 cm or so, because the cassette hides it and it's below eye level |
How to set up bleed in Canva
Canva doesn't show bleed by default, so it's easy to design a background that stops exactly at the edge. Switch it on as soon as you start, so you can extend photos and colours beyond the trim line. Canva adds about 3 mm of bleed, which matches what most printers require.
If your printer needs CMYK, check whether your account lets you choose a CMYK profile when exporting a PDF. If it doesn't, the file will be in RGB and the printer will convert the colours, which can change the look of bright, vivid shades.
- Open your design and go to File → Settings → Show print bleed.
- Extend the background and photos to the outer edge, beyond the dashed line.
- Move text and logos inwards, well clear of the trim line.
- Download the file as PDF Print and tick the print bleed option, plus crop marks if your printer asks for them.
How to set up bleed in Photoshop
Photoshop has no separate bleed field, so you build the bleed into the document size. For an A4 flyer, you create a 216×303 mm document at 300 ppi, ideally in CMYK from the start. Guides then show where the trim falls and where the safe area begins.
If you already have a design without bleed, enlarge the canvas and fill in the edges. Don't stretch the whole image, as this will distort proportions and lettering. It's better to extend the background, mirror a strip from the edge, or use Content-Aware Fill.
- New file: File → New, bleed size (trim size + 6 mm), 300 ppi, CMYK colour mode.
- Guides: View → New Guide Layout, with a 3 mm margin (trim) and a second layout of, say, 6–8 mm (safe area).
- Existing design: Image → Canvas Size, tick 'Relative' and add 6 mm to the width and height.
- Saving: File → Save As → Photoshop PDF, with no extra scaling.
How to set up bleed in Illustrator and InDesign
Adobe's layout and vector graphics programs have bleed built into the document settings. You work at trim size, and the bleed appears as a red frame around the artboard. Your background must reach this red line, not just the edge of the page.
The export is the crucial step. Even correctly set bleed won't make it into the PDF unless you tick the option to use the document's bleed settings in the export dialogue. Only add crop marks if your printer asks for them, because some digital and large-format printers don't want them.
- Illustrator, new file: File → New, enter 3 mm in the Bleed field (the chain icon links all sides).
- Illustrator, existing file: File → Document Setup → Bleed.
- Illustrator, export: File → Save As → Adobe PDF → Marks and Bleeds → tick 'Use Document Bleed Settings'.
- InDesign, new file: File → New → Document, expand 'Bleed and Slug' and enter 3 mm. Set the margins to 5 mm as the safe area.
- InDesign, export: File → Export → Adobe PDF (Print), choose the PDF/X-1a or PDF/X-4 preset, then in Marks and Bleeds tick 'Use Document Bleed Settings'.
What happens if you don't add bleed?
Most often, the printer will put the job on hold and ask for a corrected file, which delays delivery. If the file goes through without being checked, you risk problems that can't be fixed once it's printed. The opposite problem matters too: text placed too close to the edge can be trimmed off even when the bleed is correct.
- White slivers along the edges: when the blade shifts, unprinted paper shows through.
- Rescaling: the printer may enlarge the artwork by a few per cent, cutting off details near the edges.
- Distortion: stretching the background in only one direction changes the proportions of logos and photos.
- Clipped text and borders: elements near the trim line may be cut unevenly, and a thin border near the edge will show every deviation.
- A smaller printed area: sometimes the design ends up printed with a white border instead of running to the edge.
Checklist
- The file is at bleed size: trim size plus 3 mm on every side (or whatever your printer requires).
- The background and photos reach the outer edge of the bleed.
- Text, logos and phone numbers are at least 3–5 mm inside the trim line.
- Resolution: 300 DPI for small formats, and ten times higher at 1:10 scale.
- Banners and roll-ups have extra allowances to suit the finishing and the cassette model.
- The option to use document bleed settings is ticked when exporting the PDF.
- Crop marks are added only if the printer requires them.
- The colour mode has been checked (CMYK or as set out in the printer's specification).
- You have proofread all text, phone numbers and addresses yourself before sending.
FAQs
How many mm of bleed should I add to a flyer?
The standard is 3 mm on every side. An A5 flyer of 148×210 mm therefore has a 154×216 mm file, and an A4 flyer a 216×303 mm file. Some printers ask for more on folded flyers, so it's worth checking their specification. Keep important text at least 4–5 mm inside the trim line.
What bleed do I need for an 85×55 mm business card?
Usually 3 mm on every side, so the file measures 91×61 mm (or 96×56 mm for a European 90×50 mm card). Some printers accept 2 mm, but 3 mm is safer. Place text and logos at least 3–4 mm from the edge of the finished card.
Is bleed included in the design size?
Bleed is added to the trim size, so the file is larger than the finished product. In Photoshop, you enter the bleed size manually. In Illustrator, InDesign and Canva, you set the trim size and switch on bleed separately. After printing, the bleed area is trimmed off.
What's the difference between bleed and the safe area?
Bleed is the area beyond the trim line that gets cut off and should be filled with background. The safe area is a strip inside the finished size, usually 3–5 mm, where you shouldn't place important content. Together, they protect your design from white slivers and clipped text.
How do I add bleed to a finished design that doesn't have any?
Enlarge the canvas by 6 mm in width and height, then extend the background to the new edge. In Photoshop, Content-Aware Fill or mirroring a strip from the edge will help. Don't stretch the whole image, as you'll distort the proportions.
Does Canva add bleed automatically?
No. You need to switch on the bleed view under File → Settings and extend the background beyond the dashed line. When downloading a PDF Print file, tick the print bleed option. Canva adds about 3 mm of bleed.