Roll-up banners: sizes, safe zones and how to design one
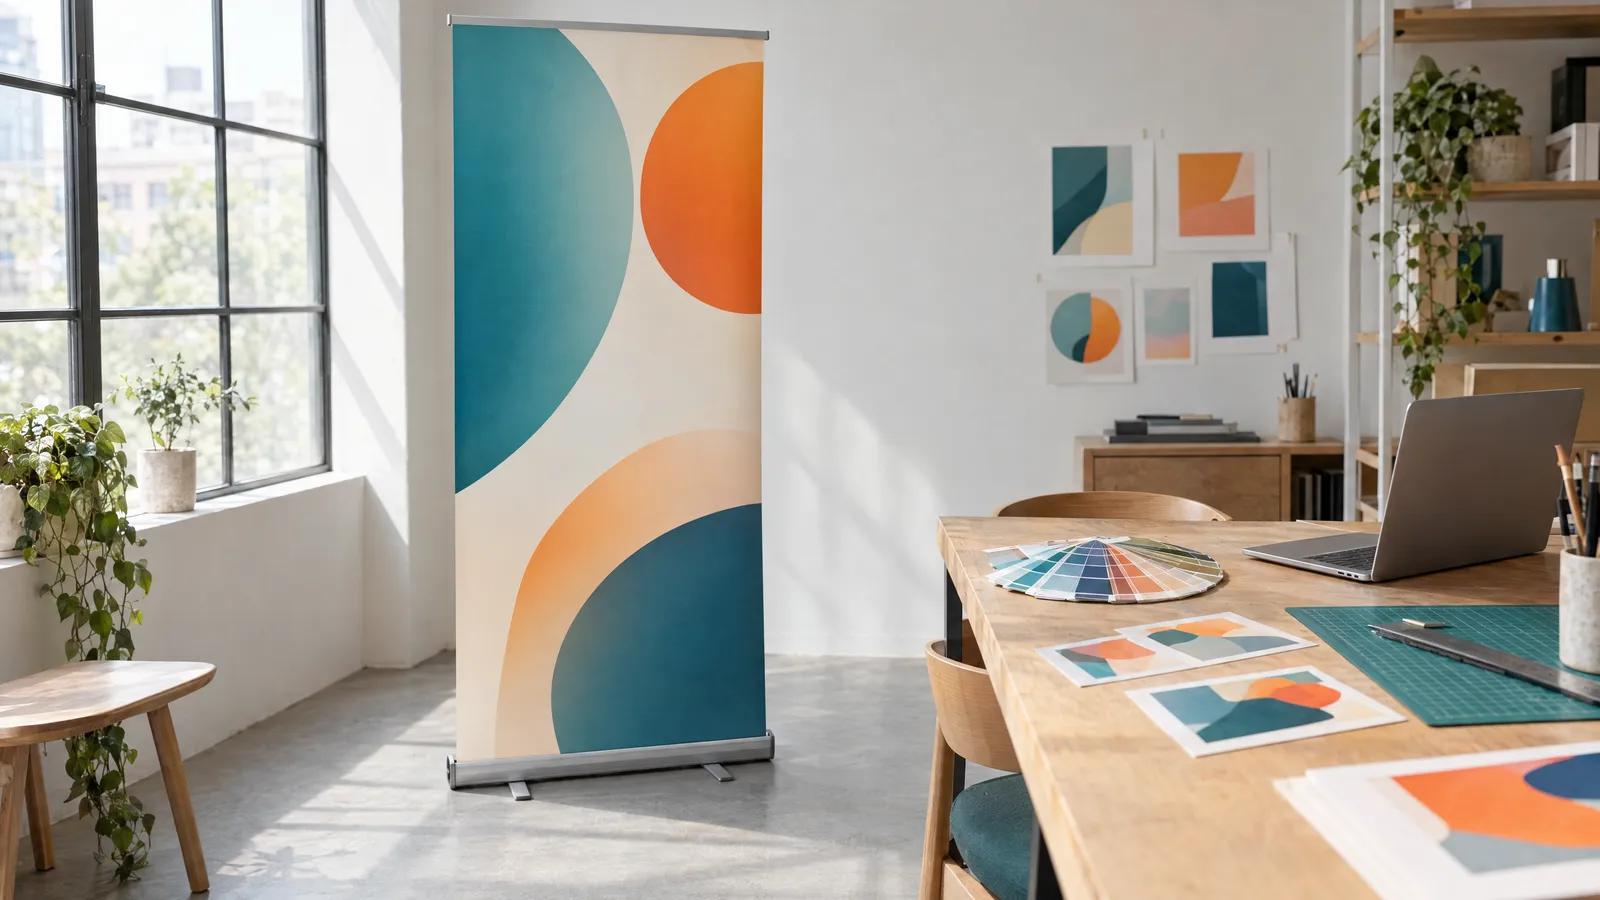
A standard roll-up banner has a visible graphic of 85×200 cm or 100×200 cm, but the print is usually supplied with an extra 5–10 cm at the bottom (e.g. 85×210 cm), because that section sits inside the cassette. The exact allowance depends on the stand model. Place your key content roughly 120–190 cm above the floor, leave at least 3 cm of margin at each side and keep text out of the bottom 40–50 cm. A 1:10 scale file measures 85×210 mm or 100×210 mm, and photos within it need 1000–1500 DPI, which gives 100–150 DPI at full size.
A roll-up banner, often called a pull-up banner in the UK, is the simplest display for trade shows, receptions, pharmacies and shops: it goes up in a matter of seconds and gives you two metres of advertising. It is precisely because of that height that it needs designing differently from a poster. Part of the graphic disappears into the cassette, the lower half is often hidden by people and furniture, and the text is read from several metres away, on the move. In this guide you will find specific dimensions, safe zones, logo and lettering sizes, and the rules for setting up a file at 1:10 scale, which is how most large-format printers work.
Roll-up banner sizes: 85×200 and 100×200 cm
The two most popular formats are 85×200 cm and 100×200 cm. The 85 cm width works well in narrow aisles, beside a counter and in small premises, while 100 cm gives more room for a photo and a more legible headline, especially at trade shows. You will also come across 120×200 and 150×200 cm banners, but the design rules are the same.
The 200 cm height is usually the visible part of the graphic. The print itself is longer, because the bottom section winds onto the roller in the cassette. Exactly how much to add depends on the particular stand, so always check the print size given by your printer or the system manufacturer.
| Format | Visible graphic | Typical print with allowance | File at 1:10 scale |
|---|---|---|---|
| Roll-up 85 | 85×200 cm | 85×205–210 cm | 85×205–210 mm |
| Roll-up 100 | 100×200 cm | 100×205–210 cm | 100×205–210 mm |
| Roll-up 120 | 120×200 cm | 120×205–210 cm | 120×205–210 mm |
How much of the graphic is hidden in the cassette and under the top rail?
On most roll-up banners the bottom 5–10 cm of the print stays in the cassette, and on some models even more. At the top, the graphic is stuck to or slotted into a rail that usually covers 1–3 cm. The sides may be trimmed with a small tolerance, and the material can curl slightly at the edges.
So run the background and photo across the whole print, including the allowance, but do not place any text, logos or important parts of a photo (such as faces) near the edges.
- Bottom: background right to the edge, no text lower than about 40–50 cm from the floor.
- Top: at least 5 cm between the edge and any logo or text.
- Sides: a safety margin of at least 3 cm; on a 100 cm width, 4–5 cm is better.
- Cassette allowance: filled with background, no content.
Roll-up banner zones: what to place at which height
A standing adult's eyes are roughly 150–170 cm above the floor. This is the most valuable part of the banner and where your main message should go. The lower you go, the less likely anyone is to read it, because at trade shows the lower half is blocked by people, tables and boxes.
The simplest approach is to divide the banner into zones measured from the floor and give each one a single job. A layout like this can be read from top to bottom in a few seconds, even on the move.
| Height from floor | Zone | What to place there |
|---|---|---|
| 170–195 cm | Top | Logo or company name, visible above people's heads |
| 120–170 cm | Eye level | Main headline, key benefit, most important offer |
| 70–120 cm | Middle | 3–5 short points, product photo, QR code |
| 40–70 cm | Lower | Website, phone number in large type, or background only |
| 0–40 cm | Dead zone | Background and decorative elements only |
How much text fits on a roll-up banner?
A roll-up banner is not a leaflet. Passers-by look at it for a few seconds, and in that time they need to understand who you are and what you are offering them. Good practice is one headline, a few points and one way to get in touch.
If you have more to say, move it onto a leaflet placed nearby or behind a QR code. White space around the text is not wasted space; it is what makes the headline visible from a distance.
- Main headline: up to about 7 words, one idea.
- Subheading: one sentence that expands on the headline.
- Points: 3–5, each just a few words, no full sentences.
- Contact: one or two details, e.g. website and phone number.
- QR code: at least 15×15 cm at full size, at a height of 90–150 cm, on a light, plain background.
How big should the logo and lettering be?
The logo at the top of the banner should take up about 50–70% of the width, i.e. about 45–60 cm on an 85 cm banner and 50–70 cm on a 100 cm one. For a tall or square logo, aim instead for a height of around 20–30 cm. Leave clear space around it so that it does not merge into the photo.
Lettering size is best measured by cap height at full size. A rough industry rule of thumb is about 2.5 cm of letter height for every 3 m of distance from which the text still needs to be legible. The table also gives an approximate point size in the 1:10 file; the exact value depends on the typeface, because different fonts have different cap heights.
- Choose sans-serif or simple serif typefaces, avoiding thin weights (Light, Thin).
- Avoid long blocks of text set in capitals.
- Ensure strong contrast: dark text on a light background or vice versa, never text over a busy part of a photo.
| Element | Cap height (1:1) | Point size in 1:10 file (approx.) |
|---|---|---|
| Main headline | 8–12 cm | 32–48 pt |
| Subheading | 4–6 cm | 16–24 pt |
| Website, phone number | 3–5 cm | 12–20 pt |
| Offer points | 2–3 cm | 8–12 pt |
| Absolute minimum | approx. 2 cm | approx. 8 pt |
How to set up a roll-up banner file at 1:10 scale
Large-format printers most often accept roll-up banner files at 1:10 scale, because an 85×210 cm document at 1:1 would be enormous and awkward to work with. In practice, you create an 85×210 mm (or 100×210 mm) document and design everything ten times smaller. It is important to state in the file name or your order that it is at 1:10 scale.
The most common mistake concerns resolution. A photo at 300 DPI in a 1:10 file has only 30 DPI once enlarged to full size and will look blurred. For a banner viewed from 1–3 m, aim for 100–150 DPI at actual size, which means 1000–1500 DPI in the 1:10 file. For a background seen from a distance, around 72 DPI at full size, i.e. 720 DPI in the 1:10 file, is usually enough.
If you order a design from plakaty.shop (wielkareklama.eu studio), you receive your roll-up banner as a PDF at 1:10 scale in line with this practice, complete with a safety margin. Even so, check the allowance for your chosen stand with your printer and proofread all text, phone numbers and addresses yourself.
- Document size: 85×205–210 mm or 100×205–210 mm, following your printer's guidelines.
- Bleed: many printers do not require bleed on roll-up banners, others ask for 0.5–1 mm in the 1:10 file (i.e. 5–10 mm at full size); ask before exporting.
- Colour: CMYK with the profile your printer recommends; large black areas as rich black according to the printer's specification, and small text in plain black only (100% K).
- Text: converted to outlines or with fonts embedded.
- Logo: ideally vector (SVG, PDF, AI, EPS), so resolution does not matter.
- Export: PDF without crop marks, unless your printer asks for them.
The most common roll-up banner design mistakes
Most unsuccessful roll-up banners look fine on screen but poor in real life. The reason is simple: on screen you see the design as a whole, whereas a standing banner is seen close up, from below and partly obscured. Before sending your file, print it on an A4 sheet and stand it on the floor 2–3 m away. You will see straight away whether the headline is legible.
- Text or contact details in the bottom 40 cm, which disappear into the cassette or behind people.
- Too much content: a full price list or company description instead of a single headline.
- Low-resolution photos taken from the internet, blurred once enlarged.
- A logo that is too small, or placed in the middle rather than at the top.
- Important elements too close to the side edges.
- Text over a photo with no backing panel or darkening, so it loses contrast.
- A file sent at 1:1 scale when 1:10 was required, or vice versa.
Checklist
- File size matches the stand model, including the cassette allowance
- No text or logo in the bottom 40–50 cm or near the edges (min. 3 cm)
- Main headline at a height of about 120–170 cm from the floor
- Headline cap height at least 8 cm, smallest text at least about 2 cm at full size
- Photos at 1000–1500 DPI in the 1:10 file
- Colours in CMYK, fonts converted to outlines or embedded
- QR code at least 15×15 cm and tested with a phone
- All text, phone numbers and addresses proofread personally
- File labelled as 1:10 scale in the file name or order
FAQs
What is the standard size of a roll-up banner?
The most popular formats are 85×200 cm and 100×200 cm of visible graphic. The print is usually 5–10 cm longer, because the bottom section sits inside the cassette. The exact size depends on the stand model, so check it with your printer before you start designing.
What resolution should a roll-up banner file be?
At full size, 100–150 DPI is enough, because a roll-up banner is viewed from 1–3 m away. In a 1:10 scale file, that means 1000–1500 DPI for photos. Logos and text are best prepared as vectors, so resolution does not apply to them.
What does it mean when a roll-up banner file is at 1:10 scale?
It means the document is ten times smaller than the print, e.g. 85×210 mm instead of 85×210 cm. The printer enlarges it tenfold when printing. That is why photos in such a file need ten times the resolution required for the final print.
How much text should go on a roll-up banner?
Ideally one headline of up to about 7 words, a short subheading, 3–5 points and one or two contact details. A roll-up banner is read in passing, so move longer descriptions onto a leaflet or behind a QR code.
Does a roll-up banner need bleed?
It depends on the printer and the cutting method. Some printers accept files without bleed, while others ask for 5–10 mm at full size, i.e. 0.5–1 mm in the 1:10 file. Always run the background right to the edges and across the whole cassette allowance.
How big should the logo be on a roll-up banner?
The logo should take up about 50–70% of the width, i.e. about 45–60 cm on an 85 cm banner and 50–70 cm on a 100 cm one. Place it in the top section, at a height of about 170–195 cm from the floor, with clear space around it.