How to Design a Flyer That Works: 9 Steps
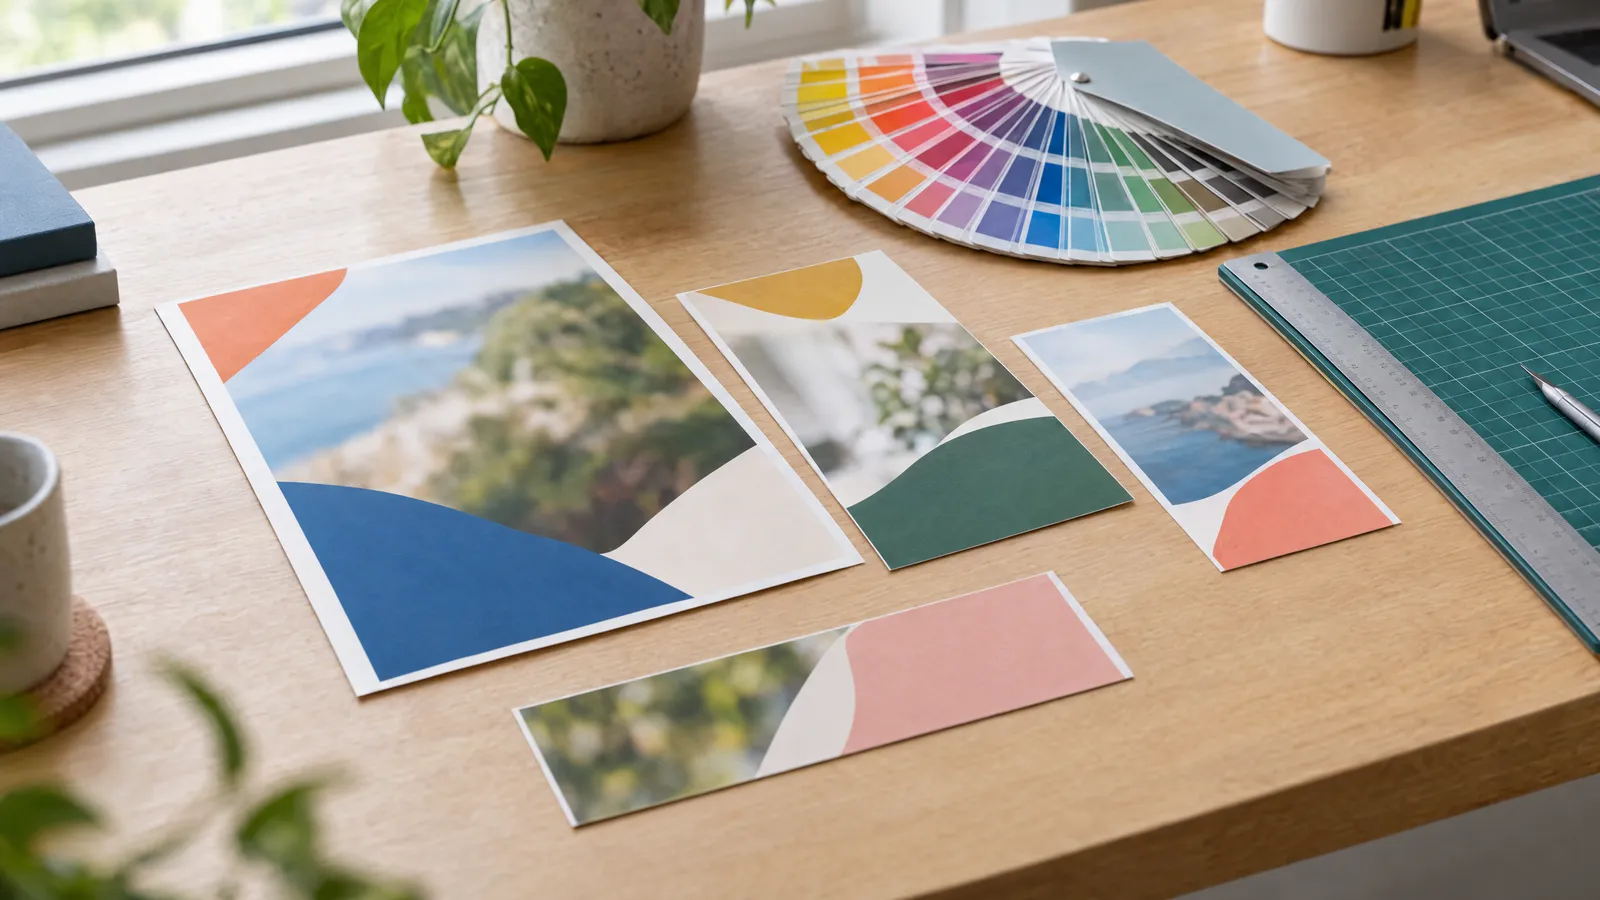
To design a flyer that works, start with one goal and one offer, then build the layout around a clear hierarchy: a benefit-led headline (usually 24–40 pt on A5), a photo, a few short selling points, a call to action and your contact details, with body text no smaller than 8–9 pt. Prepare the print file in CMYK, with photos at 300 DPI, 3 mm bleed on every side (A5 becomes 154×216 mm instead of 148×210 mm) and key elements at least 3–5 mm inside the trim line. Finally, run the 3-second test: if a stranger can't tell you what you're offering after that long, simplify the design.
A flyer has a few seconds before it ends up in a pocket or in the bin. Whether it works depends not on how many decorative touches it has, but on the order of the information and whether the reader knows straight away what to do with it. Below are the 9 steps we follow when designing flyers for print: from defining the goal, through the headline and hierarchy, to preparing the artwork and a simple test that catches most mistakes. If you're wondering how to design a flyer yourself, or you want to check a design from a designer, work through them in order.
Steps 1 and 2: What is the flyer for, and what is the one main offer?
Before you open any design software, answer in a single sentence: who is going to receive the flyer, and what should they do next? A flyer posted through letterboxes on a housing estate is designed differently (the reader wasn't looking for an offer, so you need to stop them in their tracks) from one handed over the counter (the reader is already interested and needs the details). The goal also determines the format: DL fits in an envelope and a display rack, A6 fits in a pocket, A5 leaves room for a photo and a price list, and A4 works well as a one-page offer.
The second rule: one flyer, one main offer. If you run a restaurant, choose whether you're promoting the lunch special, delivery or party catering. You can list your other services in smaller type on the reverse, but they mustn't compete with the main offer for attention.
- Audience: who they are, where they'll get the flyer and how much time they have.
- Action: call, visit, scan the code, book.
- Main offer: a single service or promotion, ideally with something concrete (price, date, discount).
- A format suited to how the flyer will be distributed.
| Format | Trim size | Size with 3 mm bleed | Typical use |
|---|---|---|---|
| A6 | 105×148 mm | 111×154 mm | Street handouts, flyers handed out with receipts, invitations |
| DL | 99×210 mm | 105×216 mm | Display racks, envelopes, service offers, price lists |
| A5 | 148×210 mm | 154×216 mm | Letterbox drops, offers with a photo and a list |
| A4 | 210×297 mm | 216×303 mm | Detailed offers, folded leaflets |
Step 3: How do you write a benefit-led headline?
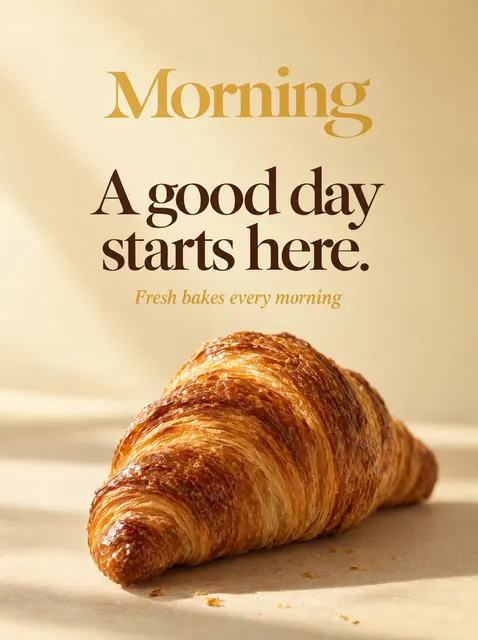
The headline is the most important element of a flyer and usually the only one everybody reads. It should say what the reader gains, not what your business is called. 'Pizzeria Roma' informs; 'Hot pizza at your door in 30 minutes' sells. Put your name and logo somewhere visible but secondary, unless your brand is already well known locally.
A good headline is usually 3 to 8 words long and contains something concrete: a number, a timeframe, a place or the solution to a problem. Avoid vague claims such as 'Highest quality' or 'Professional services', because every competitor says the same. If the benefit needs explaining, add a short subheading underneath in a smaller type size.
- Benefit instead of name: 'Streak-free windows in a single day' rather than 'XYZ Cleaning Ltd'.
- Specifics: price, discount, turnaround time, area covered.
- The reader's language: words they would use themselves, without industry jargon.
- One idea: if the headline has a comma and an 'and', it probably contains two offers.
Step 4: Hierarchy – what should be biggest
Hierarchy is the order in which the eye reads the flyer. First the headline, then the photo or offer, then 3–5 short selling points, and finally the call to action and contact details. Each level should differ clearly in size, weight or colour; if everything is bold and large, nothing stands out.
Use no more than two typefaces and leave white space around the most important elements. Set body text on a flyer in a sans serif or a simple serif font, no smaller than 8–9 pt, and preferably 10–11 pt for older readers. The sizes below are a guide and depend on the length of the text and the distance from which the flyer will be read.
| Format | Headline | Subheading / offer | Body text | Small print (minimum) |
|---|---|---|---|---|
| A6 | 18–28 pt | 12–16 pt | 8–10 pt | 6–7 pt |
| DL | 22–36 pt | 14–18 pt | 9–10 pt | 6–7 pt |
| A5 | 24–40 pt | 14–20 pt | 9–11 pt | 7 pt |
| A4 | 36–60 pt | 18–24 pt | 10–12 pt | 7–8 pt |
Step 5: Which photo should you choose, and how do you prepare it for print?
The photo should show the product, the result of the service or a person using it. One large, sharp photo works better than a collage of six small ones. Choose shots with a light background and a clear main subject, because colours on paper usually come out slightly darker and less saturated than on screen.
For print, a photo should be 300 DPI at its final size. For a full-bleed photo on an A5 page, that means roughly 1819×2551 pixels; an image downloaded from social media is usually too small and will print blurry. Only use your own photos, images bought from a stock library or images licensed for use in printed advertising.
- Resolution: 300 DPI at 1:1 scale (the usual accepted minimum for large background images is 200–250 DPI).
- Colour mode: CMYK in the print file, checking that vivid blues and greens haven't lost their punch.
- Text over photos: only on a calm area of the image or on a semi-transparent band.
- Faces and products must not fall into the trim area.
Steps 6 and 7: Call to action and contact details
The call to action (CTA) tells the reader plainly what to do: 'Call to book a free measure-up', 'Show this flyer for a free coffee', 'Scan the code and order online'. A single CTA works best, highlighted with colour or a box, along with a reason to act now, such as an expiry date for the offer. If you can, build in a way to measure results: a discount code printed on the flyer or a dedicated link in the QR code.
Put your contact details in a single block, where the eye finishes reading – usually at the bottom. The phone number should be larger than the rest of the details and written in groups of digits (e.g. 07700 900 123). Print the QR code at no less than about 2×2 cm, dark on a light background, with a clear margin of white space around it, and test it on several phones before going to print.
- Phone number: large, legible and checked digit by digit.
- Address and opening hours, if the reader needs to visit.
- Website without 'https://', short and easy to type.
- A QR code leading to a specific offer page, not just the homepage.
- A logo sized so it doesn't overpower the headline.
Step 8: What should go on the reverse of the flyer?
The reverse is the place for details aimed at people the front has already won over: a price list, the range of services, a location map, customer reviews or a menu. The front sells; the back explains. Don't repeat the headline word for word, but keep the same colours, typefaces and photographic style so that both sides look like one design.
A single-sided flyer is cheaper to print and is enough for a simple promotion with one concrete offer. Go double-sided when you have a price list or several services to explain. At plakaty.shop the reverse side is charged as an extra and designed to match the front, so it's worth preparing the copy for both sides from the outset. Remember to include your contact details on both sides, as you can't know which way up the flyer will reach the reader.
Step 9: The 3-second test and preparing the print file
Print the design at 1:1 scale on an ordinary printer, show it to someone who doesn't know your business for about 3 seconds, then take it away. Ask them: what's the offer, who is it for and what do I need to do? If they can't answer all three questions, the headline is too weak, there are too many elements or the CTA is getting lost. Keep refining until the design passes the test every time.
Save the file for the printer as a PDF at trim size plus 3 mm bleed on every side, with the background and photos extending to the edge of the bleed. Keep text and logos at least 3–5 mm inside the trim line, and either convert fonts to outlines or embed them in the file. Choose the paper weight to suit the use: flyers are usually printed on 130–170 g/m² coated paper, while flyers meant to last longer call for 250–350 g/m².
- Bleed: 3 mm on every side (check your printer's specific requirements).
- Safe area: at least 3–5 mm inside the trim.
- Colours: CMYK, with black text in 100% K only – no four-colour rich black for text.
- Paper: gloss coated for vibrant photos, matt coated for better text legibility.
Checklist
- The benefit-led headline passes the 3-second test with a stranger.
- The flyer has one main offer and one call to action.
- All text, phone numbers, addresses and prices proofread personally, digit by digit.
- The QR code has been tested on several phones and leads to the right page.
- Photos are 300 DPI at their final size.
- The file is in CMYK, with 3 mm bleed and a 3–5 mm safe area.
- Body text is no smaller than 8–9 pt.
- Contact details appear on both sides of a double-sided flyer.
- The chosen format and paper weight suit the distribution method.
FAQs
Which flyer size should I choose?
The most popular sizes are A5 (148×210 mm), A6 (105×148 mm) and DL (99×210 mm). A6 works well for handing out by hand, DL suits display racks and envelopes, and A5 gives you room for a large photo and a list of services. Choose the format based on where and how the flyer will reach the reader.
How much text should a flyer have?
On the front, a headline, a subheading, 3–5 short selling points, a call to action and contact details are enough. Move details, price lists and longer descriptions to the reverse. If fitting the text in means dropping the font below 8 pt, that's a sign it needs cutting.
What resolution and bleed do I need to print a flyer?
Photos should be 300 DPI at the size they'll be printed. Standard bleed is 3 mm on every side, so an A5 file measures 154×216 mm. Keep important elements at least 3–5 mm inside the trim line.
What paper weight is best for flyers?
Coated paper of 130–170 g/m² is the most common choice: it reproduces photos well and feels pleasant in the hand. For flyers meant to be kept for longer, such as a price list or a takeaway menu, a heavier 250–350 g/m² card is better. The choice depends on your budget and how long the flyer needs to last.
Should a flyer be double-sided?
Not always. For a simple promotion with one concrete offer, a single-sided flyer is enough and costs less. Double-sided makes sense when you want to show a price list, your range of services or a location map – and in that case it's worth putting your contact details on both sides.
What is the 3-second test?
You show the printed flyer to someone who doesn't know your business for about 3 seconds. Then you ask them what the offer is, who it's for and what they need to do. If their answers are hesitant, simplify the design, strengthen the headline or make the call to action stand out more.