How to Design a Label for a Jar, Bottle or Cosmetic Product
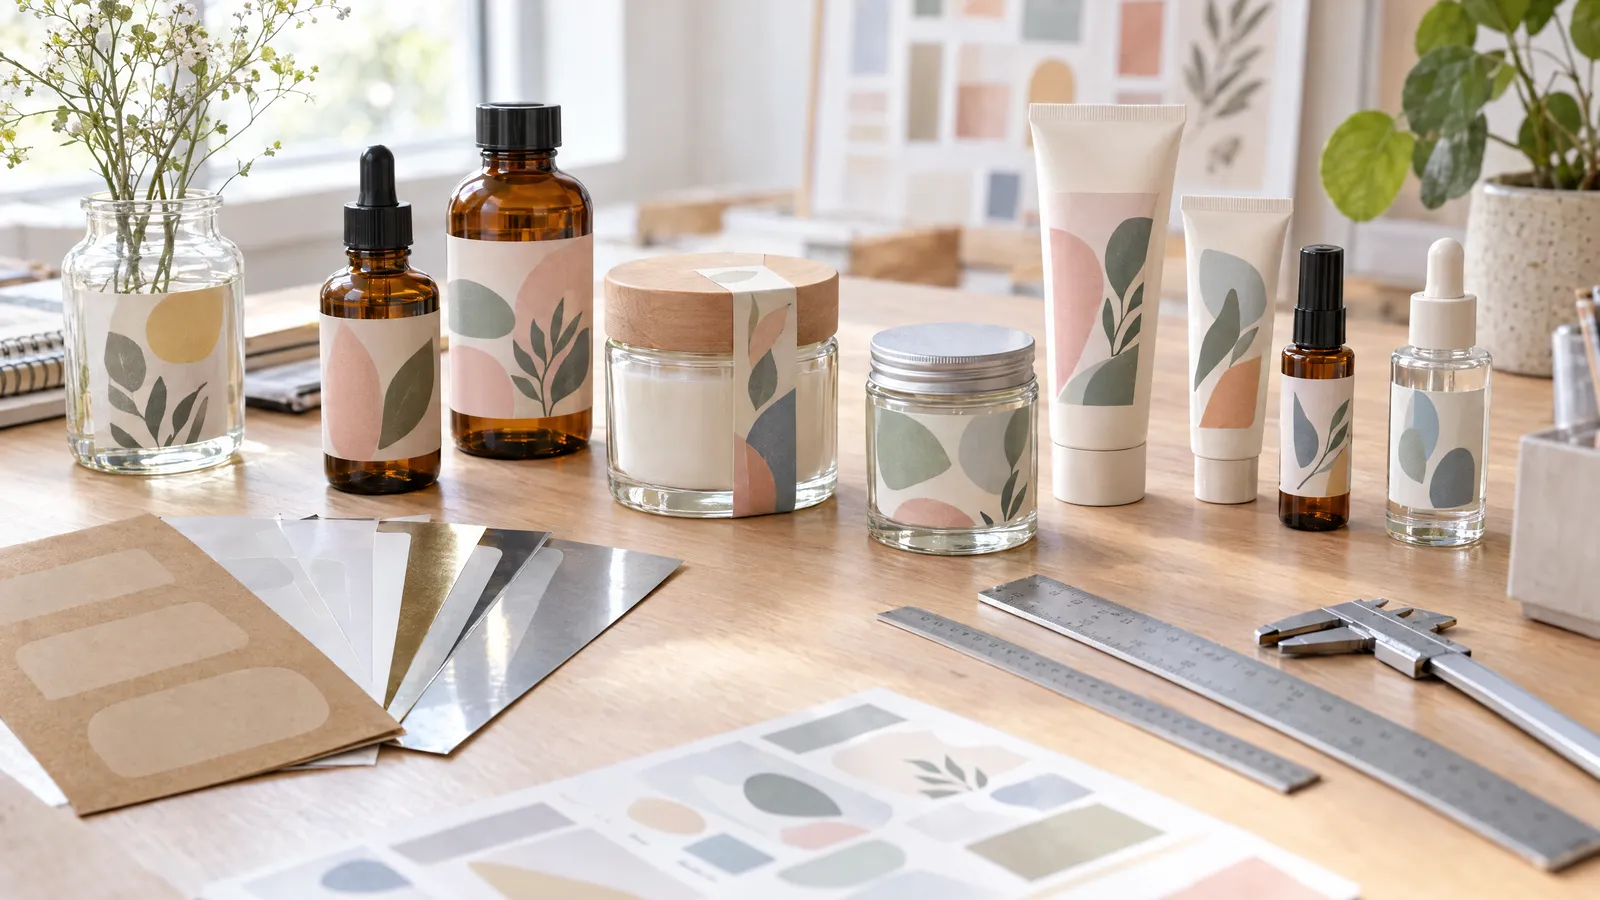
To design a label, measure the straight section of the container (on a jar or bottle, the label length is the circumference, π × diameter, minus a 3–5 mm gap), then set up the file at the trimmed size with 3 mm bleed, a 2–3 mm safety margin and images at 300 DPI at 1:1 scale. Put the product name and type on the front, and set the mandatory information (ingredients, weight or volume, manufacturer, date) in a high-contrast sans-serif font, usually no smaller than 6–7 pt. For cosmetics and chilled products, choose PP film; for dry preserves, self-adhesive paper is perfectly adequate.
A label is the smallest piece of advertising you will ever design, and also the most demanding: it has to fit a curved surface, survive damp or greasy fingers, meet information requirements and still persuade someone to buy within a second. Below is a practical, step-by-step process, from measuring the jar, through mandatory information and file preparation, to choosing the material and a band.
How do you measure the container and choose the label size?
Start with the physical container, not a photo from your supplier's catalogue. Use callipers to measure the diameter and the height of the straight section of the wall, meaning the part without any narrowing, thread or rounded base. A label applied over a curve or taper will wrinkle and peel, so make its height 5–10 mm less than the straight section.
Work out the length of a wrap-around label with the formula: circumference = π × diameter. If the ends are not meant to meet, subtract a 3–5 mm gap, because with uneven hand application an overlap looks untidy. If the label is to go all the way round the container, add a 5–10 mm overlap and keep text and barcodes off it. Example: a jar with a 72 mm diameter has a circumference of approx. 226 mm, so a wrap-around label with a gap will be approx. 221–223 mm long.
Tapered containers (cups, some jars and bottles) need a label shaped like a section of a ring, known as an arc or fan label. A rectangle on a taper will sit crooked, so plot the template from both diameters and the height, or ask the printer for a ready-made cutter.
- Measure several units, as jars and bottles from the same batch can vary by 1–2 mm.
- Print the design on plain paper, cut it out and hold it against the container before ordering the full run.
- Check that the label does not cover embossing, the mould seam or the area needed for the cap.
Which label shape should you choose?
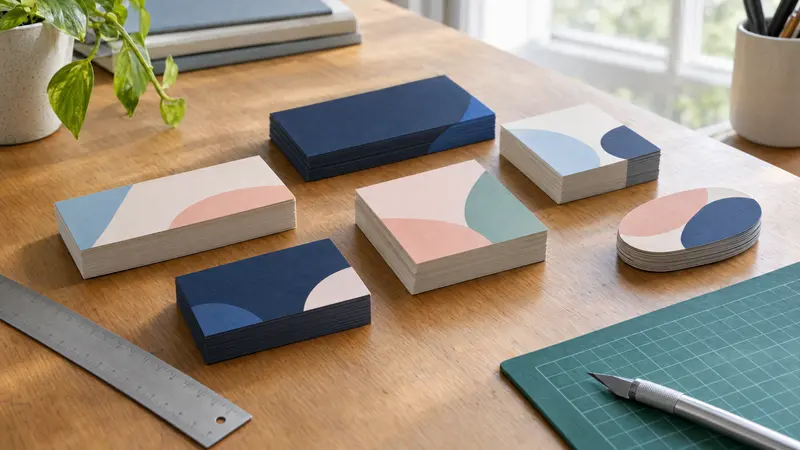
The shape depends on the container surface and how much content you need to fit. A rectangle is the cheapest to cut and holds the most, circles and ovals look better on lids and flat fronts, and a custom die-cut shape makes the product stand out but raises the cost and complicates file preparation.
| Shape | Where it works | What to watch out for |
|---|---|---|
| Rectangle with rounded corners | Jars, bottles, tubes, boxes | Corners with a 2–3 mm radius peel less often than sharp ones |
| Wrap-around label | Bottles, jars with a lot of text | Text-free overlap, gap or overlap of 5–10 mm |
| Circle | Jar lids, can bases, seals | Limited space for information; set text straight, not around the curve |
| Oval | Premium-style bottle and jar fronts | Safety margin measured from the curve, not from the rectangle |
| Custom shape | Seasonal, limited-edition and artisan products | Requires a vector cutter line and usually more expensive die-cutting |
What information must appear on the label?
The required information depends on the product category: food has different obligations from cosmetics, food supplements, household chemicals or alcohol. Regulations change and can be detailed, so before printing, check the current requirements for your category, for example with an adviser, your local trading standards or environmental health office, a trade association or your raw-material supplier. The list below covers the typical fields you need to plan space for in the design.
The most common mistake is designing only the front and squeezing the information in at the last minute in tiny print. From the outset, set aside an information panel on the label, usually on the back or side, and leave room in it for a longer ingredients list. For food, the regulations set a minimum x-height for lower-case letters (1.2 mm, or 0.9 mm on very small packs), which in practice means a font of approx. 6–7 pt or larger, depending on the typeface.
- Product name and type (e.g. preserve, hand cream).
- Ingredients or ingredients list, with allergens emphasised where applicable.
- Net weight or nominal volume.
- Manufacturer or responsible person: name and address.
- Best before date, use by date or period after opening (the open jar symbol on cosmetics).
- Batch number, storage conditions, directions for use and warnings, where the category requires them.
- EAN barcode, if you sell through retail chains or shops with scanning tills.
How do you prepare a label file for print?
Design straight away at the final trimmed size, at 1:1 scale. Add 3 mm bleed on every side (backgrounds and graphics extend beyond the trim line) and a 2–3 mm safety margin inwards, inside which you place no text, logos or codes. Prepare photos and raster graphics at 300 DPI at print size, and ideally keep text and logos as vectors.
Set small text in pure black (100% K) rather than a CMYK mix, because the slightest misregistration will make the letters blur. On clear or metallised film, plan a white underprint layer beneath any elements that need to be opaque, otherwise the colours will show through. For anything other than a rectangle, prepare the cutter line as a separate layer or spot colour, following the printer's guidelines.
- Colours: CMYK or spot colours agreed with the printer.
- Barcode: black bars on a white background, never scaled below the required minimum; on slim bottles, rotate it so the bars run horizontally.
- Fonts converted to outlines or embedded in the PDF.
- Export: print-ready PDF with bleed visible.
What material should the label be made from?
Choose the material to suit the conditions in which the product will be used. A jar of honey on a dry shelf will cope with paper, but a bottle in the fridge, shampoo in the bathroom or oil in a handbag needs film that resists water and grease. You can also protect the print with a gloss, matt or soft-touch laminate to guard against scuffing.
| Material | Advantages | Best for |
|---|---|---|
| Coated self-adhesive paper (semi-gloss or matt) | Inexpensive, good colour reproduction, easy to write on | Dry preserves, teas, spices, jars that won't come into contact with water |
| Textured or eco paper | Refined, artisan look | Wines, liqueurs, honeys, premium products; ideally with laminate or varnish |
| White PP film | Waterproof, oil-resistant, won't tear | Cosmetics, drinks, chilled products |
| Clear film | No-label look, as if printed directly on glass | Glass bottles and jars; requires white underprint |
| Metallised film (silver, gold) | Metallic effect without foiling | Premium ranges, Christmas editions |
| Soft PE film | Flexible, moves with the container | Tubes and squeezable bottles |
How do you make the label legible on the shelf?
Shoppers look at the shelf from a pace away and need to grasp two things instantly: what it is and whose it is. Set a hierarchy: the product name or type in the largest type, then the brand, and only after that the flavour, variant and strapline. On a round jar you can comfortably read roughly one third of the circumference from the front, so fit the key elements into that band, centred.
Contrast matters more than a fashionable colour. Light grey text on a cream background, or a thin font over a photo, disappears under shop fluorescent lighting. If you have several product variants, keep the same layout and change only the lead colour, so the range forms a coherent block on the shelf.
- A maximum of 2 typefaces: one decorative for the name, one sans-serif for the information.
- Leave clear space around the name so it doesn't get lost among ornaments.
- Check the design at 1:1 scale on a printout, not just zoomed in on screen.
- On clear film, judge legibility against the jar's contents, not against a white background.
When should you add a band and how do you design it?
A band is a strip wrapped around the container or stuck over the cap. It serves three purposes: a tamper-evident seal (breaking it shows the product has been opened), extra space for information, and a decorative element, e.g. in gift sets. A band over the lid is designed as a narrow rectangle whose length is: lid side height × 2 + diameter + a dozen or so millimetres extending down the jar wall on each side.
A band around a jar or box is the length of the circumference plus a 10–15 mm overlap for sealing. For seals, choose destructible materials or security films that tear if someone tries to peel them off; for decorative bands, use paper or film that matches the main label. The label, band and any swing tag should share the same colour scheme and typography; at plakaty.shop you can order a label and band design in any size, supplied as a PDF with 3 mm bleed, in packages from €12.
Checklist
- Size checked on the actual container and on a paper mock-up cut from a test print
- 3 mm bleed and 2–3 mm safety margin set in the file
- Images at 300 DPI at 1:1 scale, small text in 100% K
- Mandatory information checked against current regulations for the product category
- Ingredients, weight, manufacturer's address and dates proofread word by word
- Barcode at the required size, on a white background with quiet zones
- Material chosen to suit moisture, grease and storage temperature
- White underprint planned for clear or metallised film
- Cutter line prepared as a separate layer for non-rectangular shapes
FAQs
How do I calculate the size of a jar label?
Measure the jar's diameter and multiply it by 3.14 to get the circumference. Subtract a 3–5 mm gap if the ends shouldn't meet, or add 5–10 mm if the label is meant to overlap. Make the height 5–10 mm less than the straight section of the wall.
What software should I use to design labels?
Professionally, labels are prepared in vector programs such as Adobe Illustrator, Affinity Designer or the free Inkscape. What matters is that the software lets you set bleed, work in CMYK and export a print-ready PDF. Online editors are fine for simple designs, but they usually have limitations with cutter lines and white underprint.
What is the smallest font size allowed on a label?
It depends on the product category and the regulations. For food, the minimum lower-case x-height is 1.2 mm, or 0.9 mm on packs whose largest surface is under 80 cm², which roughly corresponds to a 6–7 pt font. For legibility, choose a simple sans-serif typeface and strong contrast.
Paper or film labels for cosmetics?
PP or PE film is better for cosmetics, as it doesn't absorb water, isn't stained by oils and won't tear with frequent handling. You can use paper on dry outer packaging, such as boxes, ideally with a laminate. For tubes and squeezable bottles, choose soft PE film.
What is the difference between a band and a label?
A label carries the main product information and covers the front or circumference of the container. A band is usually a narrow strip around the container or over the cap, acting as a seal, extra decoration or a carrier for a short message, such as the variant or edition. Both should share a consistent design.